Mounting dummy cameras under eaves is an innovative and discreet security solution. These realistic, invisible cameras, equipped with advanced infrared technology, provide clear images in complete darkness from strategic locations that are hard to see from the ground. This method offers enhanced property protection, deterring intruders while safeguarding against theft or vandalism, ideal for outdoor and poorly lit areas.
Discover the power of dummy cameras equipped with infrared night vision for enhanced security. This comprehensive guide delves into their unique capabilities, mounting techniques, and diverse applications. Learn how these strategic placements under eaves can provide 24/7 surveillance, offering a cost-effective solution for homes and businesses. With step-by-step instructions on mounting, understand the benefits of this sophisticated technology in protecting your property and deterring intruders.
- Understanding Dummy Cameras with Infrared Night Vision
- Mounting Dummy Cameras Under Eaves: A Step-by-Step Guide
- Benefits and Applications of Using Dummy Cameras with IR Night Vision
Understanding Dummy Cameras with Infrared Night Vision
Dummy cameras with infrared night vision are an innovative security solution, designed to deter potential intruders while providing clear, detailed images in complete darkness. These advanced devices mimic real cameras but lack a lens, making them virtually invisible from any distance. The key feature is their infrared technology, which allows them to capture and transmit visual data using light waves beyond human sight, ensuring optimal visibility even in pitch black conditions.
Mounting these dummy cameras under eaves or in strategic locations around your property can be an effective deterrent. Their realistic appearance and ability to detect motion and temperature changes make them a valuable asset for enhancing home security. With adjustable settings and remote monitoring capabilities, homeowners can stay informed and protected, knowing that their properties are being closely watched, day or night.
Mounting Dummy Cameras Under Eaves: A Step-by-Step Guide
Mounting dummy cameras under eaves can be a strategic move for enhancing security and surveillance, especially in areas with minimal natural light during nighttime hours. Here’s a step-by-step guide to help you through this process.
1. Plan Your Layout: Begin by assessing your home’s structure and identifying the ideal locations beneath the eaves for placement. Ensure these spots offer unobstructed views of the areas you wish to monitor, keeping in mind the camera’s field of view. Measure the distance from each potential mounting point to the desired surveillance target.
2. Gather Equipment: You’ll need a suitable dummy camera with infrared night vision capabilities, brackets or mounts designed for under-eave installation, screws or bolts that match your eaves’ material (wood, metal, etc.), a drill, and any necessary tools for securing the mounting hardware. Some cameras come with brackets included; ensure yours does if you’re expecting an easier setup.
3. Prepare Mounting Surface: Access the underside of the eaves carefully. Clean the area to eliminate debris or dirt that might affect camera performance or attachment. If necessary, use a level to ensure the mounting surface is even for secure installation.
4. Attach Brackets: Securely mount the brackets or mounts to the eaves using screws or bolts. Make sure they’re firmly in place and aligned correctly, referring back to your initial measurements and layout plan. Some brackets may have specific instructions or unique features; follow the manufacturer’s guidelines for optimal results.
5. Position and Secure Camera: Carefully place your dummy camera onto the brackets, ensuring it aligns with your intended surveillance area. Tighten any necessary locking mechanisms or screws to keep the camera firmly in position. Double-check all attachments for stability and security before proceeding.
Benefits and Applications of Using Dummy Cameras with IR Night Vision
Dummy cameras with infrared (IR) night vision offer a range of benefits and versatile applications for both residential and commercial security. One of the key advantages is their ability to provide clear, detailed images in complete darkness, ensuring round-the-clock surveillance. The IR technology allows these cameras to detect heat signatures, enabling them to capture footage even in low-light conditions or complete darkness, making them ideal for outdoor and poorly lit areas.
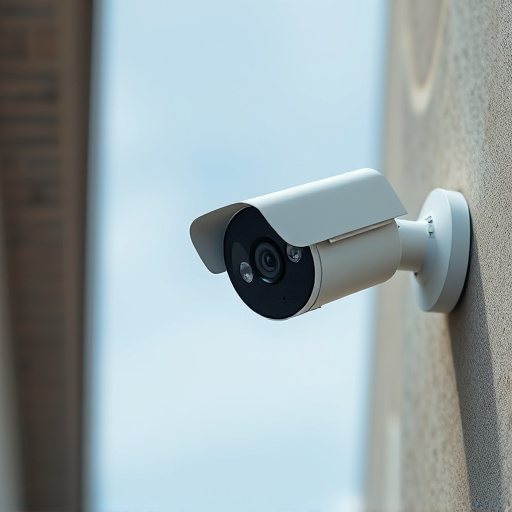
Mounting dummy cameras under eaves is a popular strategy that leverages this feature effectively. By positioning the cameras beneath roof lines or overhangs, property owners can enjoy discreet yet powerful surveillance. This mounting technique offers several advantages, including reduced visibility from the ground, minimizing the risk of theft or vandalism, and providing a strategic vantage point for monitoring entry points and vulnerable areas around the property.
Dummy cameras equipped with infrared night vision offer a cost-effective and discreet security solution. By mounting these cameras under eaves, you can effectively deter crime and protect your property without breaking the bank. The step-by-step guide in this article provides an easy reference for installing these devices, ensuring peace of mind and enhanced safety for your home or business.