Exterior dummy CCTV cameras mounted under eaves offer an effective deterrent against break-ins, vandalism, and other malicious activities while maintaining aesthetic appeal. Strategically placed, these cameras blend with architecture, creating the illusion of active surveillance and significantly reducing criminal attempts. Before installation, ensure you have necessary tools, clear access to the eaves, and a professional setup using proper components for optimal security.
“Enhance your home or business security with our guide on installing exterior fake CCTV cameras, specifically focusing on mounting under eaves. These dummy cameras serve as a powerful deterrent for potential intruders, offering peace of mind in today’s digital era. In this article, we’ll explore the purpose of these devices, the ideal installation spots beneath eaves, required tools and materials, and provide a step-by-step process for secure mounting. Learn how to make your property less appealing to pesky intruders with our expert tips on mounting dummy cameras under eaves.”
- Understanding the Purpose of Exterior Dummy CCTV Cameras
- Choosing the Right Location for Mounting Under Eaves
- Preparing Your Tools and Materials
- Step-by-Step Guide to Securely Install Your Fake CCTV Camera
Understanding the Purpose of Exterior Dummy CCTV Cameras
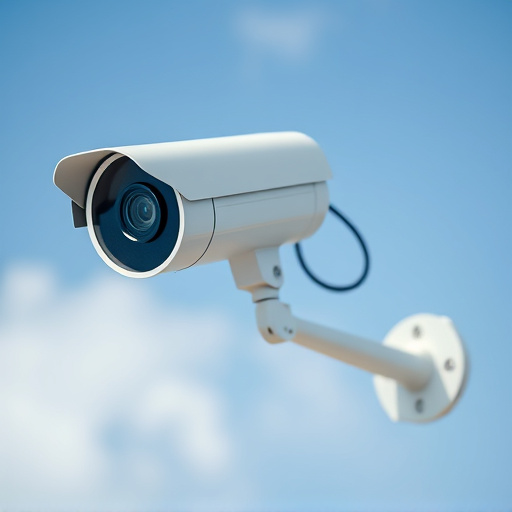
Exterior dummy CCTV cameras, also known as fake or decoy cameras, serve a crucial purpose in enhancing security while deterring potential criminals. By strategically placing these realistic-looking cameras around your property, especially under eaves, you create the illusion of an active surveillance system. This simple yet effective measure can significantly reduce break-in attempts and act as a powerful deterrent against vandalism and other malicious activities.
Mounting dummy cameras under eaves is a popular choice for several reasons. Eaves provide a discrete location, offering both cover and visibility. The overhang creates natural shadow, ensuring the camera remains visible while blending seamlessly with the architecture. This clever placement allows you to maintain a high level of security without compromising the aesthetic appeal of your home or building.
Choosing the Right Location for Mounting Under Eaves
When considering mounting dummy cameras under eaves, selecting the optimal location is paramount for achieving effective surveillance and security. The eaves of a building provide a strategic vantage point as they offer both cover from direct sunlight and rain, while also affording a clear view of the surroundings. Look for areas where there is sufficient space to securely attach the camera and ensure line-of-sight visibility without obstructions like trees or other buildings.
Prioritise spots that are easily accessible for installation and maintenance, yet discreet enough to avoid drawing unwanted attention. Proper mounting ensures the camera captures high-quality footage while remaining hidden from potential intruders, making it an ideal solution for enhancing home or business security without compromising aesthetics.
Preparing Your Tools and Materials
Before you begin installing your exterior fake CCTV cameras under eaves, make sure you have all the necessary tools and materials on hand. This includes a ladder, screwdrivers (both flathead and Phillips), wire strippers, electrical tape, and of course, your dummy camera system. It’s crucial to prepare everything in advance to ensure a smooth installation process.
When preparing your workspace, consider safety first. Ensure clear access to the eaves where you’ll be mounting the cameras. Have someone assist you if necessary, especially when handling ladders. Gather all components carefully and organize them for easy reach during installation. Remember, proper preparation is key to achieving a professional-looking setup with your mounting dummy cameras under eaves.
Step-by-Step Guide to Securely Install Your Fake CCTV Camera
Installing a fake CCTV camera, or dummy camera, can be an effective way to deter potential criminals and enhance your home security. Here’s a step-by-step guide on how to securely mount your dummy camera, focusing on the technique of mounting under eaves for optimal placement.
1. Choose the Right Location: Select an area under the eaves of your roof where the camera can be discreetly placed. Ensure it’s positioned high enough to capture clear footage and not easily visible from the street or common entry points.
2. Gather Your Tools: You’ll need basic tools like a drill, screws suitable for your camera’s mounting bracket, and possibly a level to ensure proper alignment. If you’re mounting under eaves, consider using a ladder for access.
3. Mark the Spot: Using the level, mark where you want the camera to be positioned. This ensures the camera will be straight when mounted.
4. Drill Pilot Holes: With your markings in place, use the drill to create pilot holes through which you’ll insert the screws. This prevents the screw heads from being visible from the exterior and maintains the camera’s stealthy appearance.
5. Attach the Mounting Bracket: Securely fasten the mounting bracket to the marked spot using the screws. Ensure it’s sturdy and level.
6. Mount the Dummy Camera: Carefully place your fake CCTV camera onto the bracket, ensuring it aligns perfectly with your desired field of view. Tighten any necessary screws to hold the camera in place securely.
Mounting dummy cameras under eaves can significantly enhance home security without the cost and hassle of real CCTV. By strategically placing these exterior fake CCTV mounting instructions, you create the illusion of a well-monitored property, deterring potential intruders. Remember, while these cameras serve as a deterrent, regular maintenance and understanding their limitations are essential for optimal security.